Continuous Motion and Boundaries
- Embed motion blocks inside 'forever' loops to create continuous movement.
- Apply the 'bounce on edge' block to contain moving sprites within the stage.
- Adjust step values inside loops to control the speed of moving objects.
- Coordinate multiple looping sprites to create an obstacle course environment.
1. Embed motion inside 'forever' loops for continuous movement
In game design, objects like enemies, cars, or clouds need to move constantly without
stopping. Placing motion blocks (like move 10 steps) inside a
forever loop instructs the computer to continuously apply that motion in
every frame, creating smooth, uninterrupted movement.
This continuous motion simulates real-time physics. Since the loops execute rapidly, the small steps add up to make the sprite glide smoothly across the screen, mimicking momentum.
2. Contain sprites with 'bounce on edge' blocks
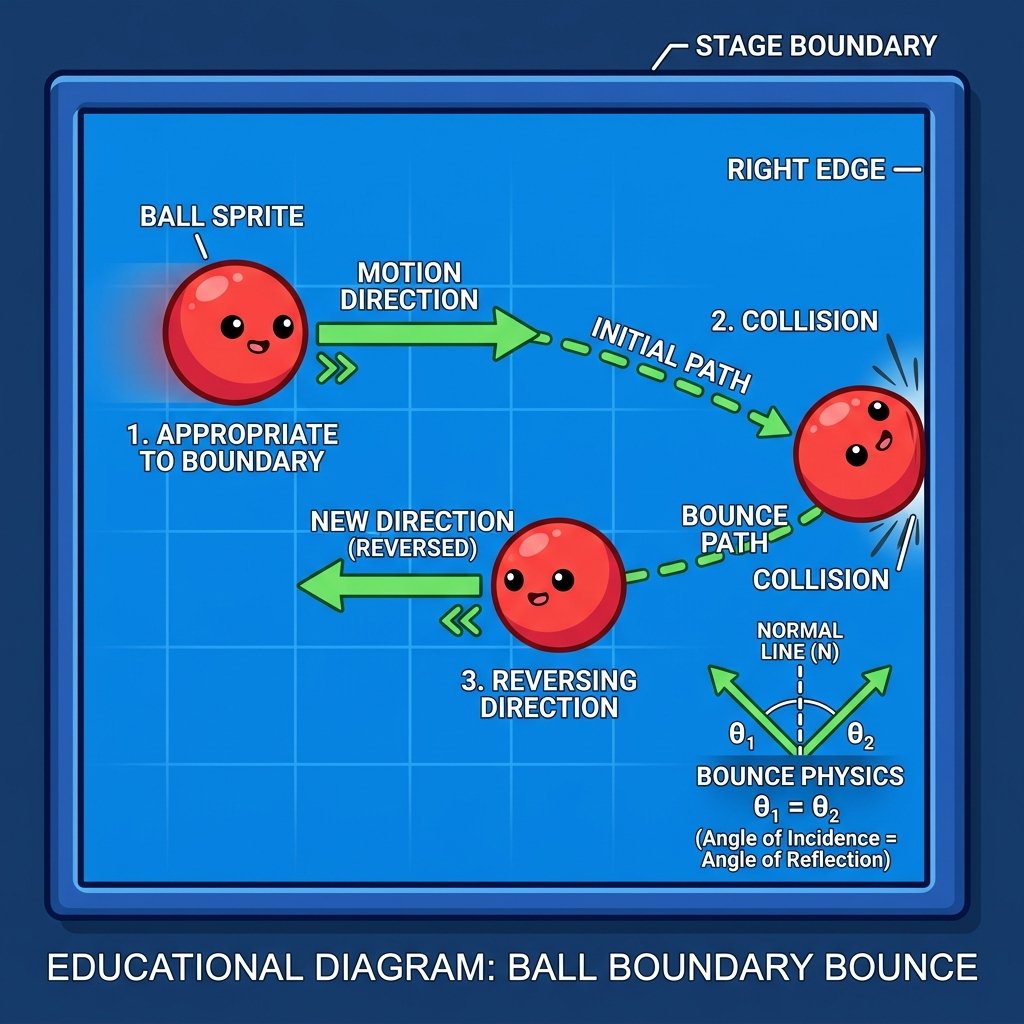
When a sprite moves continuously in one direction, it will eventually hit the edge of the
stage and disappear from view. To prevent this, Scratch provides the
if on edge, bounce block. When a sprite touches any stage boundary, this
block detects the collision, reverses the sprite's direction, and turns it around so it
remains active on screen.
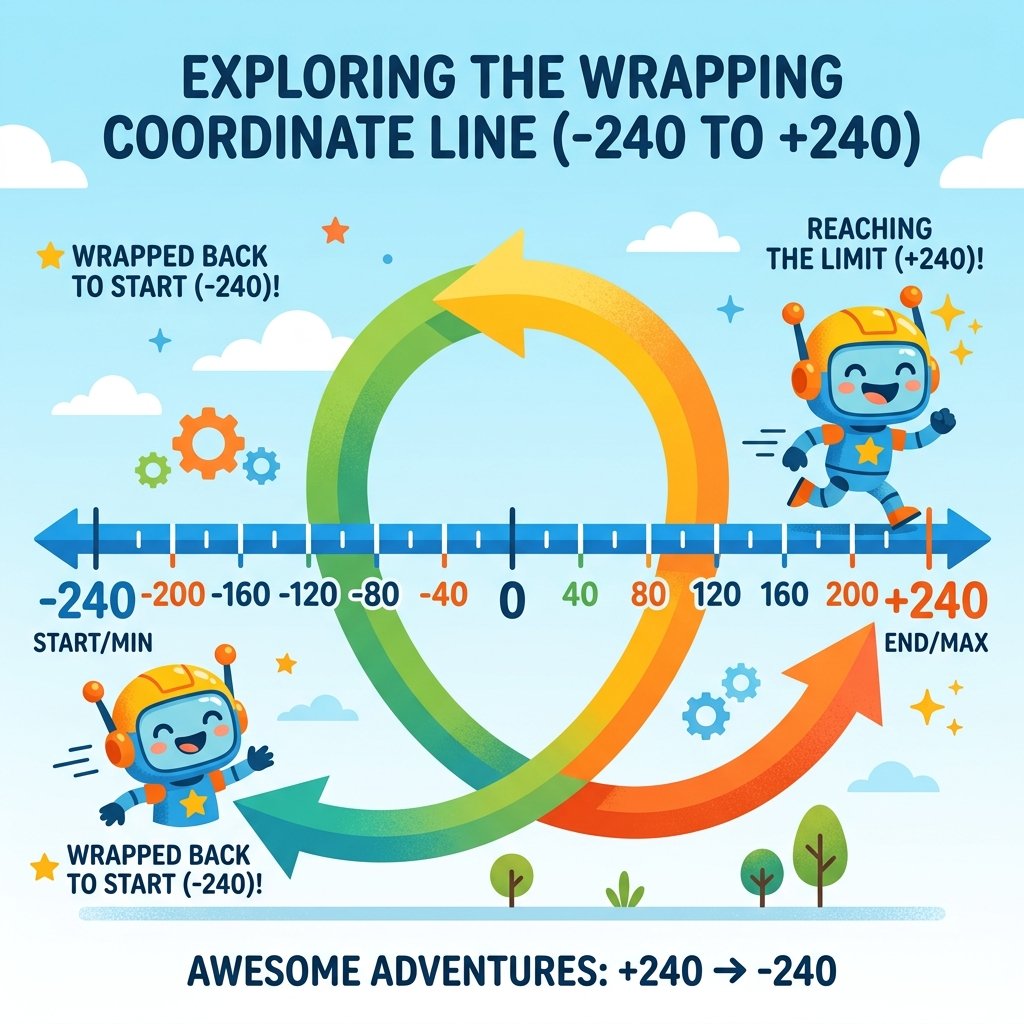
Without this block, sprites would drift past coordinates X:240 or Y:180 and get stuck out of bounds, breaking game logic. Bouncing keeps all actors contained on the stage dynamically.
3. Tune object speeds using step values
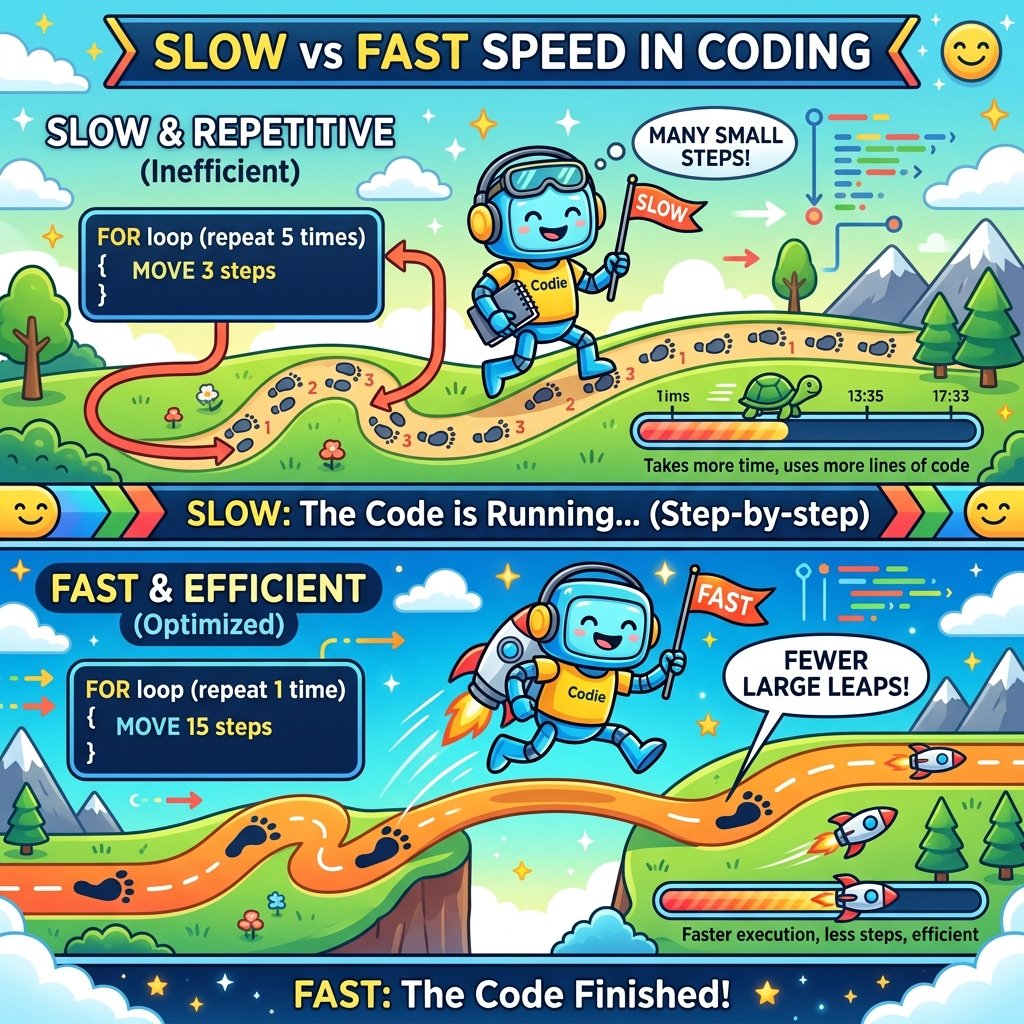
Speed is determined by the size of the steps a sprite takes in each iteration of a loop.
A block saying move (3) steps inside a loop moves the sprite slowly, while
move (12) steps makes it zip across the screen. Tuning these values lets
you adjust the difficulty and pace of a game.
Tuning speeds requires balancing gameplay. If an obstacle moves too fast, players cannot react. If it moves too slow, the challenge disappears. Finding the right step values is key to game design.
4. Coordinate looping sprites for obstacle courses
By giving different sprites their own forever loops with varying speeds and start positions, you can create a dynamic hazard course. For example, programming three ball sprites to bounce vertically at different speeds creates an interactive obstacle course for a player character to navigate.
This coordination teaches spatial planning. You must calculate the starting coordinates and path of each hazard so that there are safe gaps for the player to pass through, creating a fair gameplay environment.
Build a Bouncing Hazard Stage
- Choose a player sprite (e.g., Cat) and place it at (0, -140). Map the Left and Right Arrow keys to move it horizontally.
- Add a hazard sprite (e.g., 'Tennis Ball') and set its size to 80%.
- For the Tennis Ball, create a starting script: when green flag clicked, point in direction 45, go to coordinates (0, 100).
- Snap a 'forever' loop below the ball's setup.
- Inside the forever loop, snap: move 8 steps, and 'if on edge, bounce'.
- Duplicate the Tennis Ball sprite to create a second hazard. Change its step value to 12 to make it faster.
Model Answer Walkthrough
- Initialize the Tennis Ball position: [when green flag clicked] -> [point in direction (45)] -> [go to x: (0) y: (100)] (Motion Category).
- Create the infinite movement loop: [forever] (Control Category).
- Nest movement and boundaries inside the loop: [move (8) steps] -> [if on edge, bounce] (Motion Category).
- Duplicate the sprite to create Tennis Ball 2. Edit its move block to: [move (12) steps] to increase speed.
- Run the project. Watch as the two balls bounce off the walls at different speeds, creating a dynamic obstacle course!